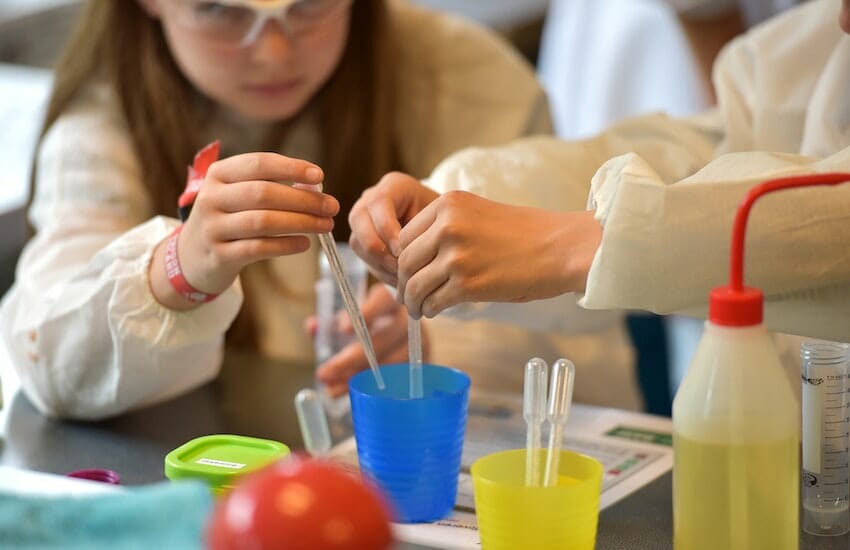
We love doing hands-on science experiments whenever possible. My personal favorites would be those that we can do with things we already have in the house, and that is mainly what you are going to find here.
We also have simple and fun science experiments that you may want to check out too. There are some that are super easy and you can set them up in minutes for a lot of fun.
Science Experiments
After years of living in a small community without a store, we have learned to be very creative in most of our science experiments and to plan ahead for others.
There are two types of science experiments that we like to do. Those that we simply do for fun and those that we do for educational purposes and go along with our lessons.
Sometimes experiments can get away from us and we are better off doing those ones outside instead so we don’t have to worry about the mess that is going to be made – like lava lamps – you don’t have to limit the fun or mess outside when you can just hose it away.
We have a few different kinds of weather in a jar experiments that we have done on a rainy afternoon simply because they were fun, but boy we’re able to learn a lot from them.
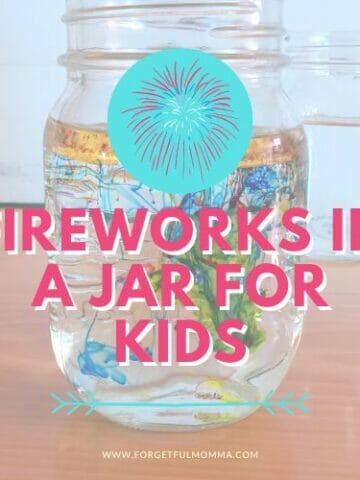
Try out this easy food color science project that uses just a few simple kitchen supplies. This fun lesson can be created into your 4th of July or a New Year’s Eve lesson. Let’s get right to learning how to make fireworks in a jar for a simple science experiment. Fireworks in a Jar I …
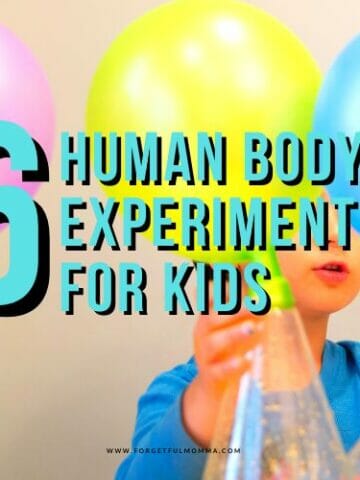
We have hit a really interesting part of our science curriculum, interesting because my kids are all interested in learning more about the human body. There are a lot of great products out there to help you along as your child learns about the human body for elementary school. *This post contains affiliate links, see …
Kids are interested in science and the body. Let’s combine that in human body experiments to help them learn more! Hands-on learning with experiments not only provides them with great learning experiences but also creates great memories! Human Body Experiments for Kids Getting hands-on in your homeschool is the best, most effective way to teach …
Learning about electricity and circuits is fun to learn about when you can be hands-on. There are a number of different kits available to explore them more and create amazing circuits and even robots with the right kit! Add some circuits to your science curriculum this year. *This is NOT a sponsored post, we just …
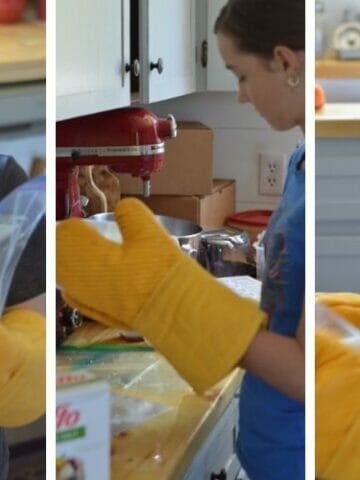
Summertime and ice cream go hand in hand. But how about making ice cream in your hands? That’s exactly what we are going to be doing today. Making ice cream in a bag with just our hands. Or your kids’ hands. Making Chocolate Ice Cream Recipe in a Bag If you have cream in your …
We are crazy about animals here and enjoy learning more about them. There are some great things out there for kids who are interested in learning more about animals. I have found some great resources for animal science projects for future vets. Animal Science Projects for Future Vets Learning through hands-on science projects for your …
We love doing science experiments here, and I thought that creating a science fair project poster would be a great way for my kids to display what they have learned. There is the added benefit that your kids are going to be working on writing and planning skills as they work through their science fair …
Let’s make ice cream this summer! Have you tried to make ice cream in a jar with your kids before? It is a fun summer treat! All you need is whipping cream and a jar. You might need to go buy the whipping cream, but if you have done any mason jar science activities from …
We have made a lot of slime in this household. We have used numerous recipes but we have always done it in fun, not looking at the science behind it. Now we are looking to create our own slime science fair project. Slime Science Fair Project Add a little school the next time you make …