I saw this experiment awhile ago and I knew we had to try it out. Every birthday I buy more balloons because I can’t find the leftovers from the previous birthday. This was a great way to use some of those balloons. I also included this balloon rockets activity in our science DIY Summer Camp Week.
Balloon Rockets STEM Experiment
This post contains affiliate links, see my disclosure policy for more information.
You could easily do this balloon rocket experiment outside or inside like we did. It is relative easy, and inexpensive.
- balloons
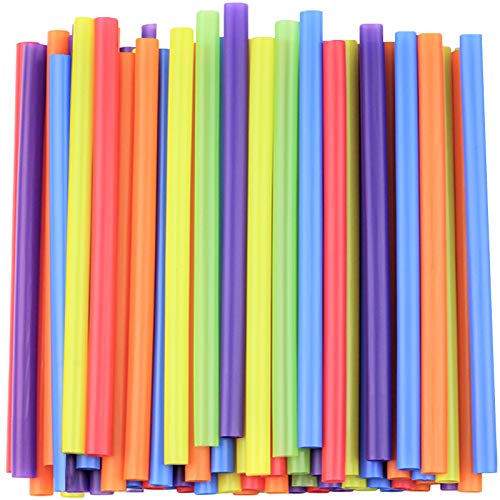
- plastic straws
- string such as twine or yarn
- tape such as painter tape or masking tape
How to make Balloon Rocket
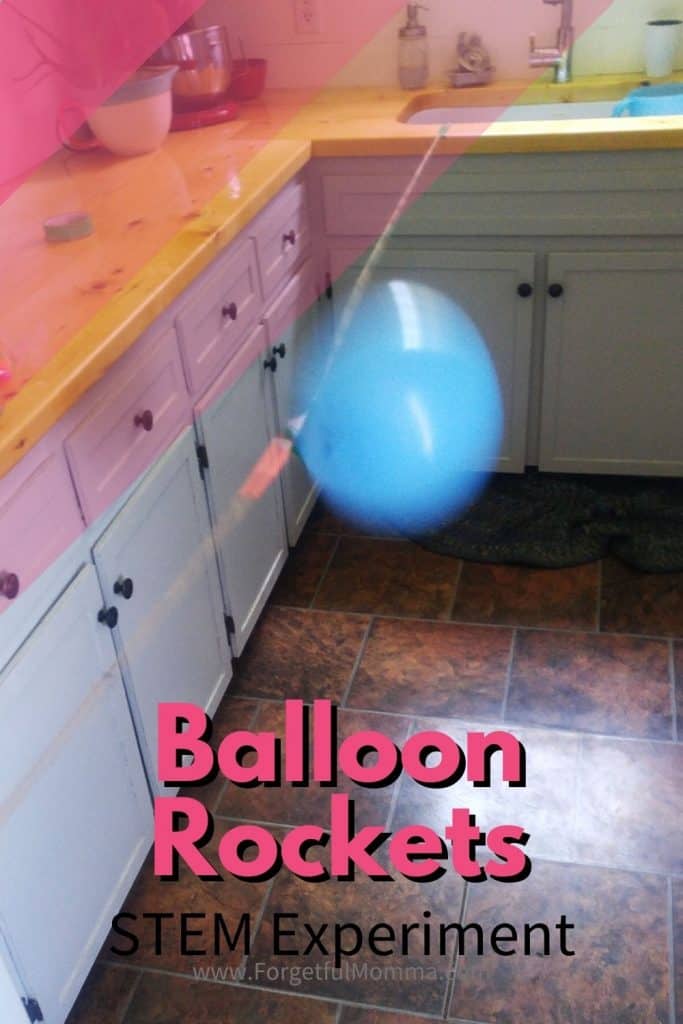
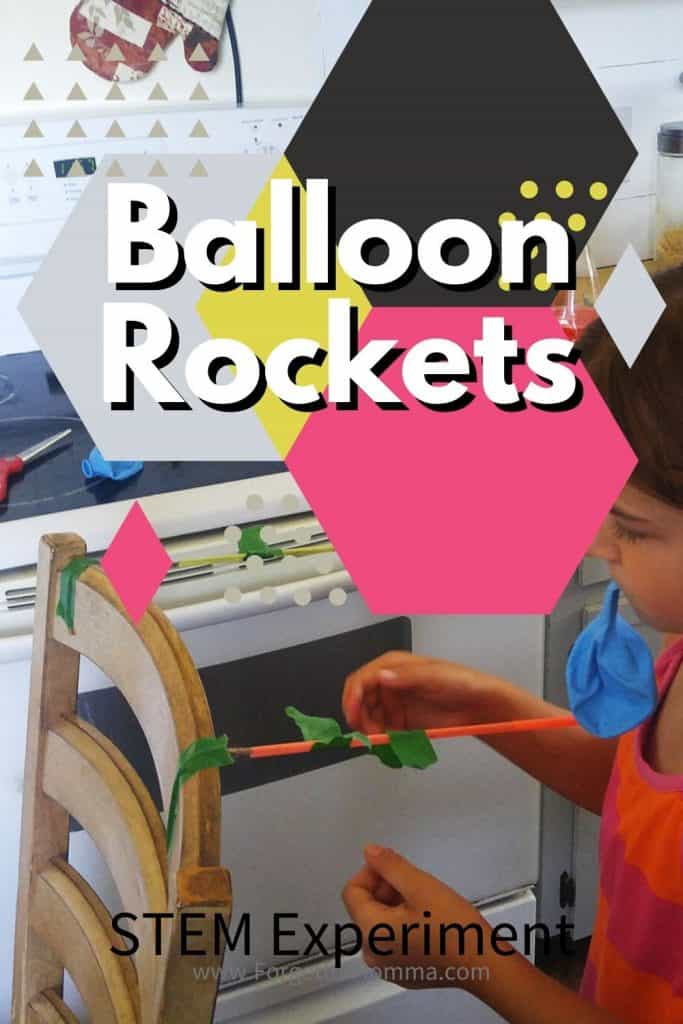
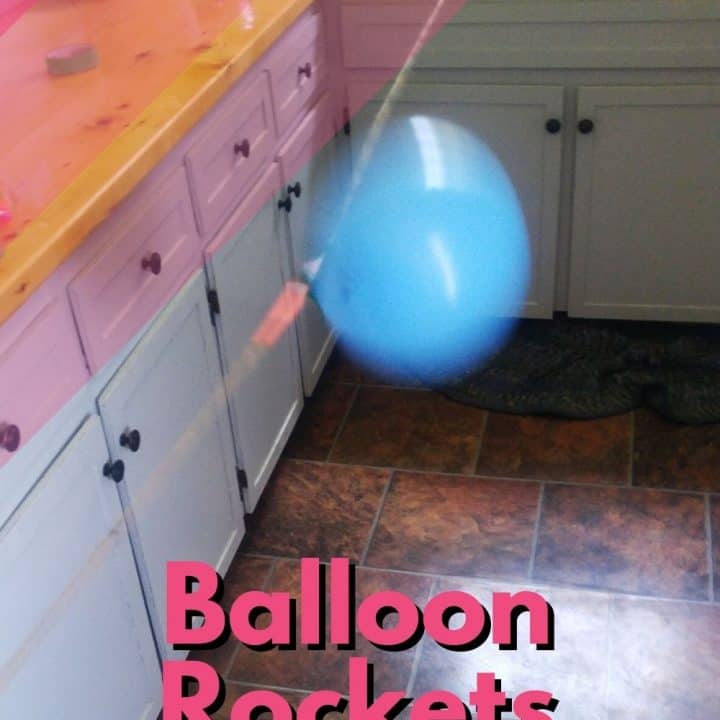
Tape or tie one end of your string to something. I taped it to my counter top.
Thread your straw onto your string, and then six or seven feet away, attach the other end of the string to something. I used the back of a chair.
I used painter tape to make sure the string stayed in place and didn’t damage or leave sticky residue behind on my counter or chair. We used about seven feet of string.
You could easily test out different lengths to add to your experiment.
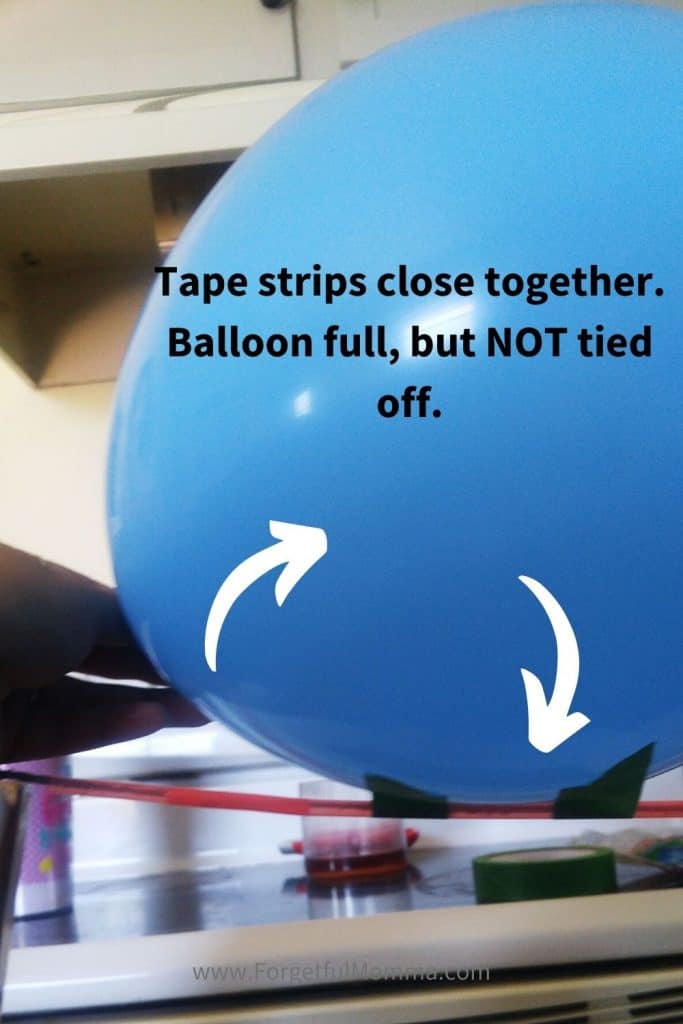
You add two strips of tape to the straw to attach your balloon, without tying the end of your balloon. With the end of the balloon face the opposite way you want your balloon to fly. Let go!
I set everything up, gave it a test and it worked perfectly.
Problem Saving Our Balloon Rockets
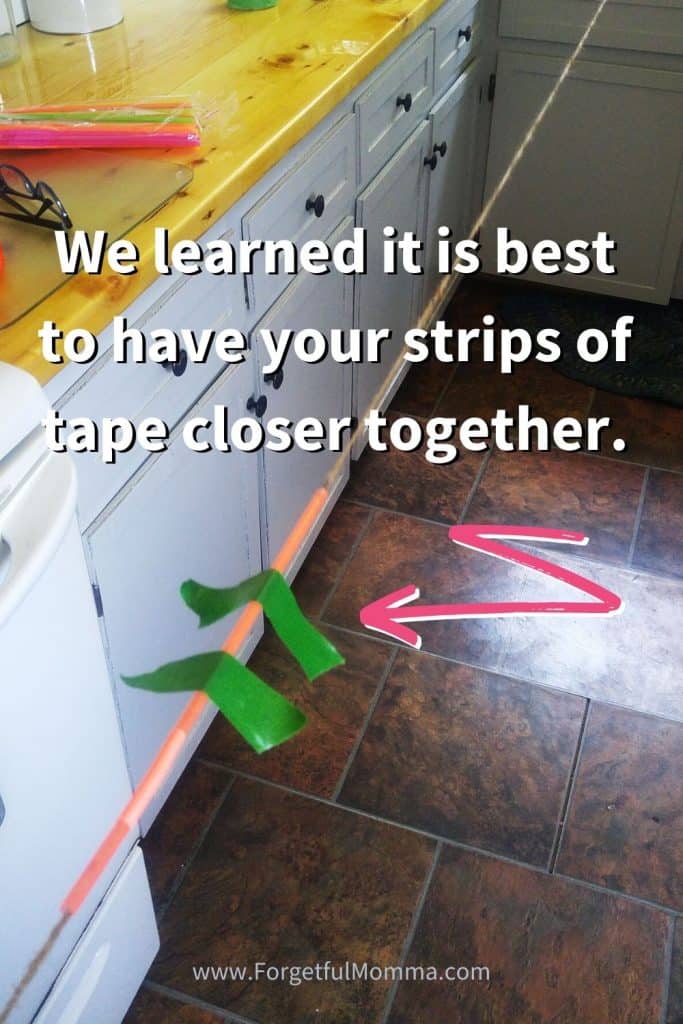
These did not work perfectly right off the bat for my kids. But we don’t give up. It was Brookland who learned through trial and error that placing the strips of tape too far apart was causing problems.
One issue we had was that we were using rough twine instead of a smooth string like yarn. There were a few places the straw was getting caught.
Balloon Rocket
Learn the science behind rockets while having fun with balloons.
Materials
- balloons
- plastic straws
- string such as twine or yarn
- tape such as painter tape or masking tape
Tools
- scissors
- tape
Instructions
- Tape or tie one end of your string to something. I taped it to my counter top.
- Thread your straw onto your string, and then six or seven feet away, attach the other end of the string to something. I used the back of a chair.
- I used painter tape to make sure the string stayed in place and didn't damage or leave sticky residue behind on my counter or chair. We used about seven feet of string.
- You could easily test out different lengths to add to your experiment.
Fun with Learning
This is homeschooling. This is learning. This is learning to problem solve and not give up until you have figured out the problem, the solution.
We let go of a few balloons without them attached to the straw and string, and then had to chase them down. It was a fun side by side comparison.
I totally set our strings out so that once we got the hang of it, my kids could have balloon races! I couldn’t help myself and it’s fun to race, especially where age (and height) doesn’t give you a leg up, haha.
We had a lot of fun with this. We did it with different amounts of air in the balloons.
We did this with the balloon on top of the straw, and on the bottom of the straw.
Have fun with it.
Science Behind Balloon Rockets
A balloon provides a simple example of how a rocket engine works. The air trapped inside the balloon pushes out the open end, causing the balloon to move forward.
The force of the air escaping is the “action”; the movement of the balloon forward is the “reaction” predicted by Newton’s Third Law of Motion.
Recommend Products for this Activity


Shark Buoyancy – Animal Science Experiment
Heart Pumping Human Body Science Experiment
Homemade Lava Lamp for your Kids